|
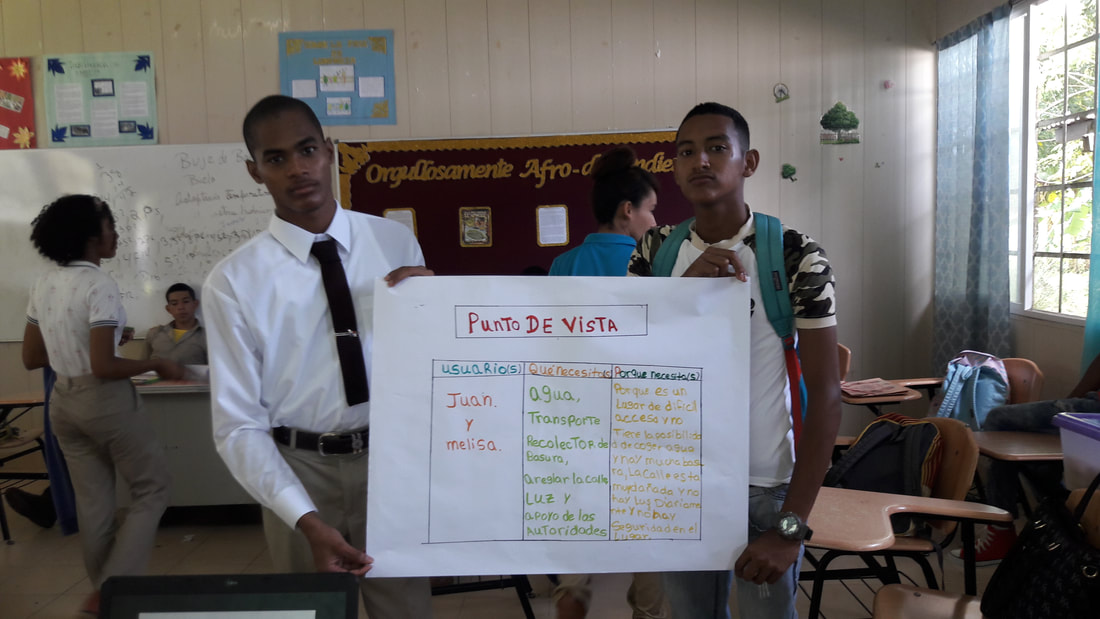
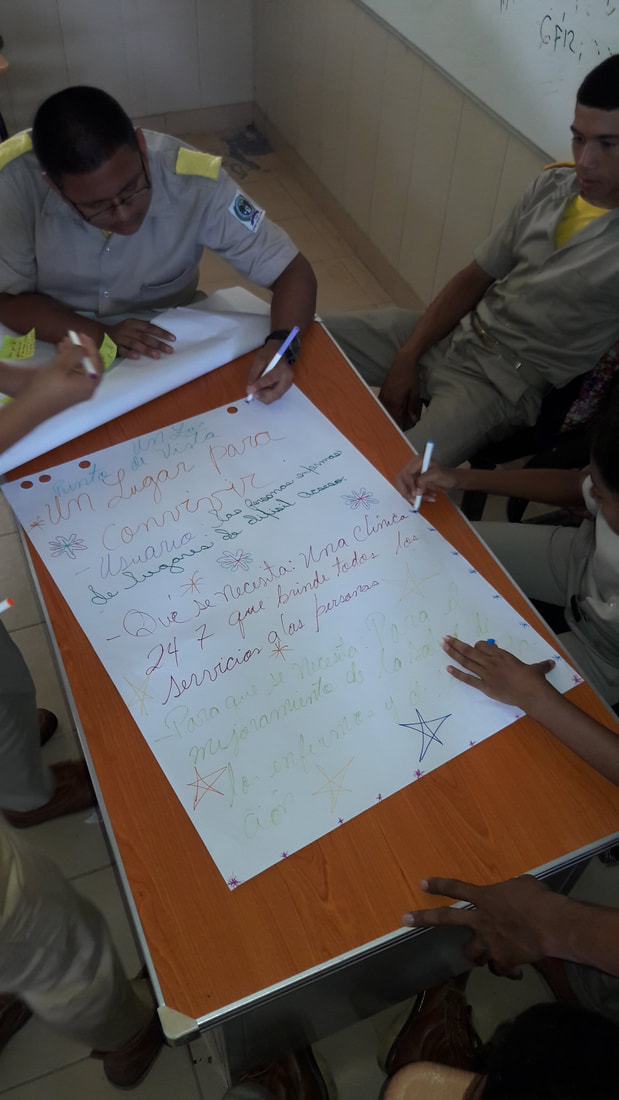
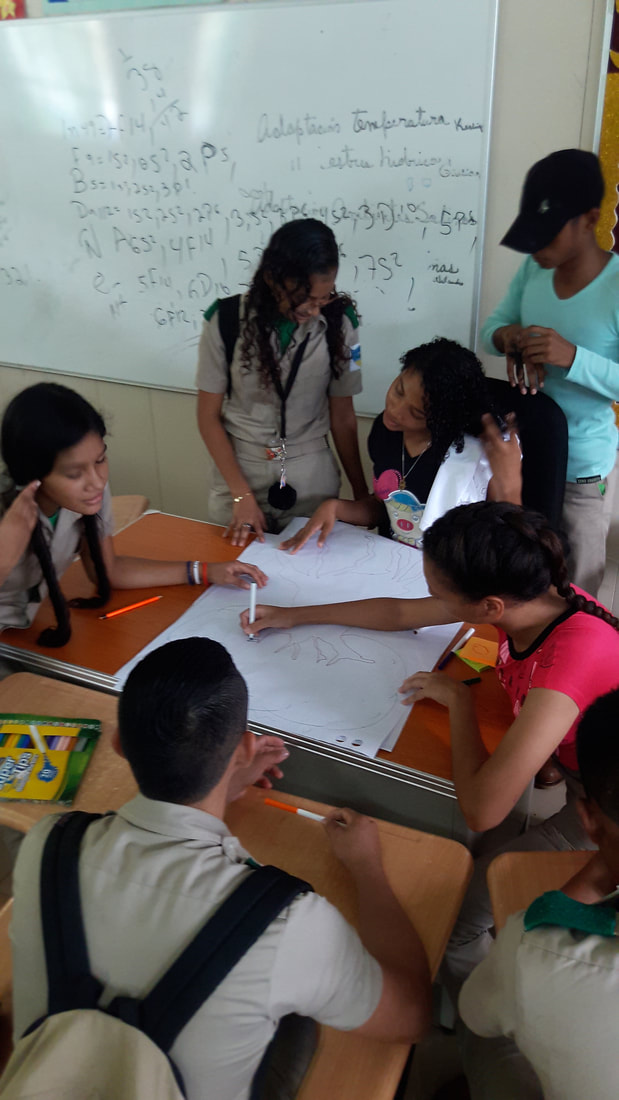
We are more than halfway through the Design For Impact Seminar Series and Competition and we are that much closer to the awaited day of the project presentations. The students have worked hard and there has been great collaboration between group members in developing their community problems and creating their solutions. I believe that they have felt stimulated by the various activities, productivity tools, and lessons presented in the last 8 weeks. I am hoping they are able to apply all they have learned for the competition, which is just a few weeks away. On August 23rd the students will present their projects in the form of a pitch, as if they were trying to sell their idea as entrepreneurs. There will be a panel of judges to listen to the presentations and they will determine who is the winning group based on certain criteria. There will be a prize for the winning group that will be revealed in the next blog once the competition is over. We began July with week 4 of the Seminar Series. This was the week where the students focused on their problem and began to develop it in order to have a clear idea as to what exactly is the problem they wish to solve. The tool they were taught to develop their problem is called The Problem Tree. The tree is a representation of their problem. The roots represent the origins or the causes of the problem. The trunk represents the central problem. It can be looked at as the central problem statement. That is to say, “Due to (root of problem) this happens (trunk).”. Finally the branches and the leaves represent the consequences and effects of the problem. What is the problem causing in their community or society? The students made their trees on poster paper and it helped them greatly in really breaking down the task at hand. Up next was another tool called the 3 H’s. This was another empathy tool that forces the students to figuratively put themselves in the body of the person affected by the problem they wish to solve. The 3 H’s stand for Head, Hand, and Heart. The 3 H’s ask you to think about what does the affected person think? (Head), what does the affected person do? (Hand), and what does the affected person feel? (Heart). Using this tool you get an idea of where need may be and where the need is you can better understand what you need to solve. Week 5 we continued developing our problem and from there create a “problem statement”. It was time to enter the second step in the Design Thinking process: define. Using all the information they had gathered using their empathy tools, the students had to create their “point of view” and “problem statement”. The point of view identifies the user/affected person, what they need, and why they need what they need. These three bits of information are then made into a problem statement, which serves as the definition of your problem. This definition is useful in guiding you to the proper solution that truly solves the problem; you’ve recognized your user/person affected, what they specifically need, and why they need it or why it satisfies their necessity. This is what transitions us to the third step of the Design Thinking process: brainstorming ideas. The students were now entering the solution stage of the charla series. Here they were to start coming up with ideas for solutions to their newly defined problem from the week prior. However before they started the actual brainstorm the students had a few more lessons to learn, as well as an activity. The activity for the day was the Marshmallow Tower. The rules were simple. The students had to build the tallest tower of spaghetti noodles with the marshmallow at its top point. The materials to build the tower were 20 noodles, 1 meter of thick string, 1 meter of tape, and 1 marshmallow. The students impressed me. They did a lot better than we did during our weekend in the workshop in Santiago, Veraguas. One group built the ideal tower and won the little competition. I gave them the rest of the bag of marshmallows as their prize. The lessons I wanted them to take from the activity were to: 1. Not to fear failure. Even if a task seems impossible the worst failure was never having tried in the first place. 2. To fall in love with the problem. Confronting a problem is an opportunity to grow intellectually and maybe make a real change to the situation, whatever it may be. 3. To let their creative mind, as well as their analytical one, flow. Taking on problems we realize our power to think about and solve problems. I wanted them to realize the importance of working with the problem and that it holds an equal or even greater weight than the solution. The final tool of the day was the last problem solving tool, the Experiential Script. This script is the hour to hour of the day of the user/affected person of the problem that you wish to solve. The script serves to find what are called “spaces of action” and to have a better picture of the need of the person. Week 6 being over the students were prepared for the following week when they would finally start churning out their ideas. The charla for Week 7 was a little heavier in regard to the amount of material that I taught to the students. Right off the bat the students did their idea brainstorming. In 15 minutes they were to come up with as many ideas of possible solutions to their problem. After coming up with their solutions they were to categorize and sub-categorize the solutions in order to organize and eliminate solutions that had too much in common and narrow their selection. After all this they were to choose the solution they wished to carry onto the next stage of the process: prototyping. After their selection I wanted to teach them about externalities. This lesson was to open their eyes to the possible consequences, be they positive or negative, to their solutions. After contemplating possible externalities to their solutions they were to play the devil’s advocate and describe their ideas to another group and the other group was to give constructive criticism for any problem they saw in the solution. This activity closed Week 7 and we look now to the end of the charla series here in August.
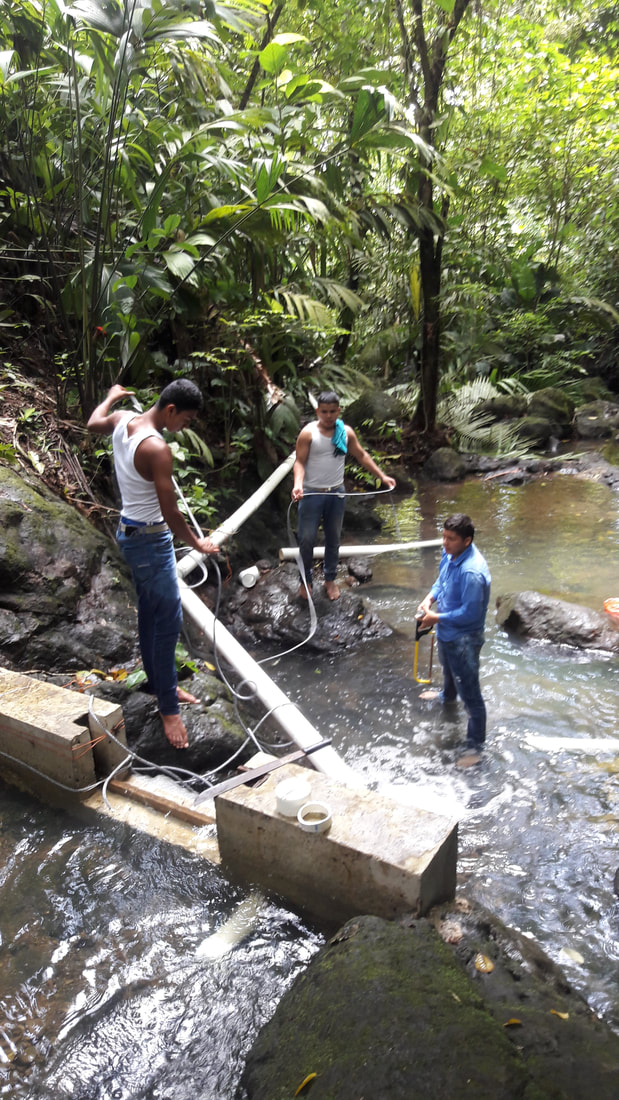
An update on the school emergency source and the dam. In July we worked a lot on finding a solid tube configuration from the dam intake to about 15 feet downriver. This configuration focuses on using the rock bed where the dam is placed to protect the tubes from strong flooding and use the west side of the stream to keep the tubes safe from a strong water flow. Students accompanied me every day I went up to the source and slowly but surely Wilfredo and the students are becoming the real caretakers of the dam and the source. |
Archives
July 2020
Categories |
Future Scientist Copyright © 2022 - All Rights Reserved - Privacy Policy


